How to Make a Logo Look Metallic in Photoshop
In this quick Photoshop tutorial, we'll learn how to create a simple but realistic metallic effect in Photoshop. In less than 6 steps we can create a nice effect and you can use it as a background. You can use this technique to create wallpapers, logos, and more. For different image sizes, you may have to change the filter input values.
Let's scroll down and create a quick and realistic metallic effect in Adobe Photoshop.
Tutorial details and resources
Difficulty: Beginner
Apps: Adobe Photoshop (CS3 or later)
Estimated Completion Time: 5-10′ Minutes
Resources: –
Watch the video tutorial
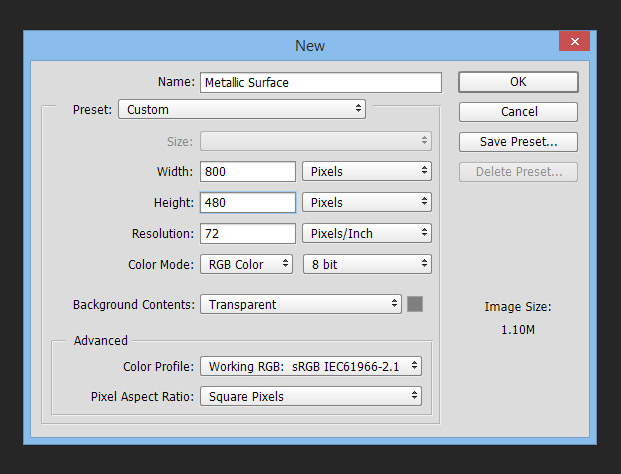
Step 1 > Create a Document
First, run Photoshop and create a new document. For this tutorial my document size is 800x480px.
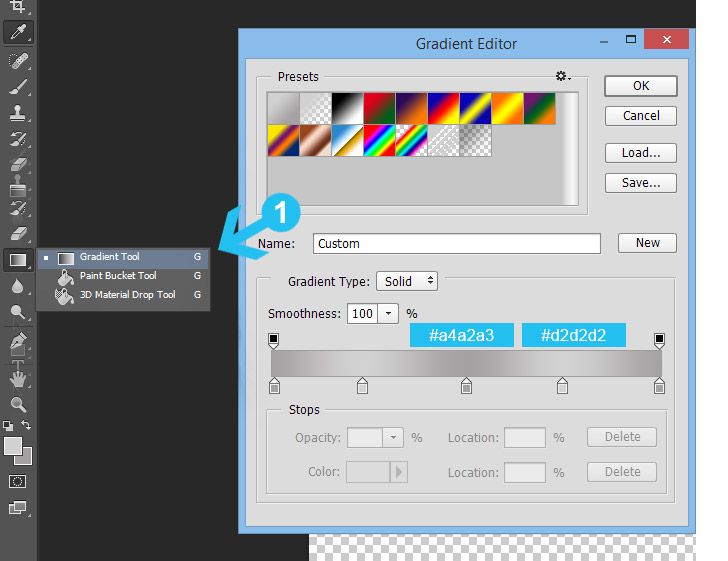
Step 2 > Gradient Background
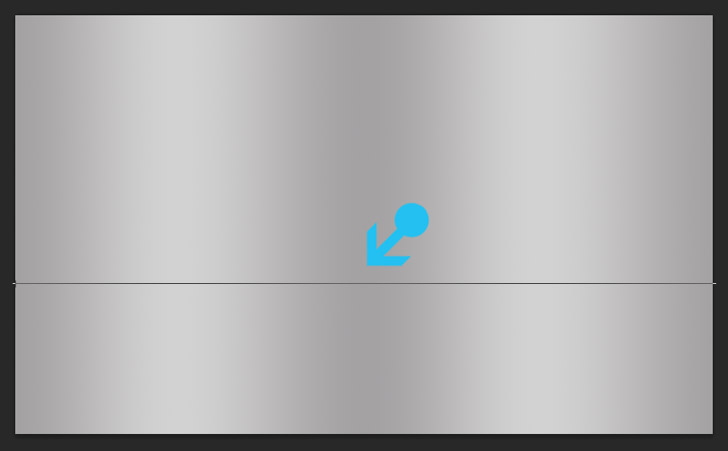
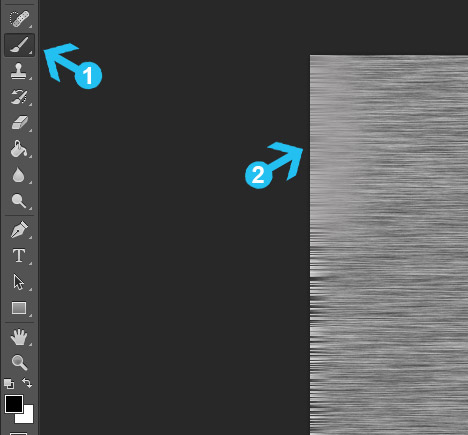
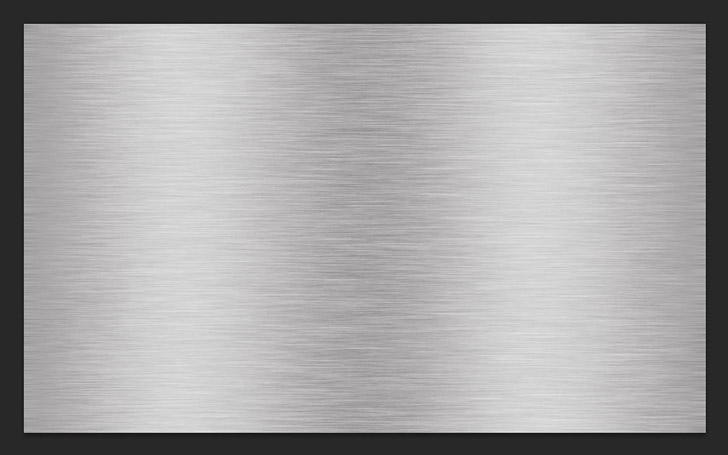
Pick the Gradient Tool (G) in your toolbox and create a 5 point gradient. Use the following colors: #a4a2a3 for the dark color and #d2d2d2 for the highlights. Next, fill horizontally the background.
Gradient Colors
Fill the Background
Step 3 > Metallic Texture
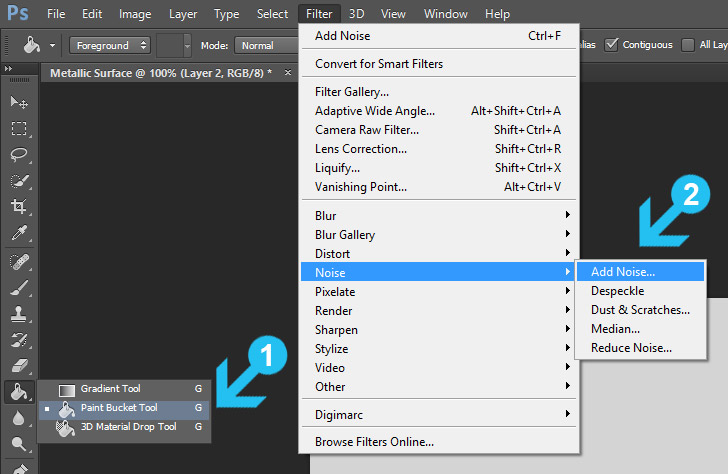
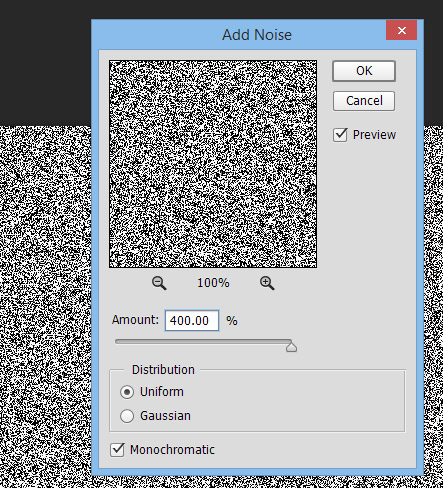
Create a new layer (Shift+Ctrl+N) and fill it with #d2d2d2 color by using the Paint Bucket Tool (G). Next, go to Filter > Noise > Add Noise and increase the amount to 400%, set Distribution to Uniform & check the Monochromatic option.
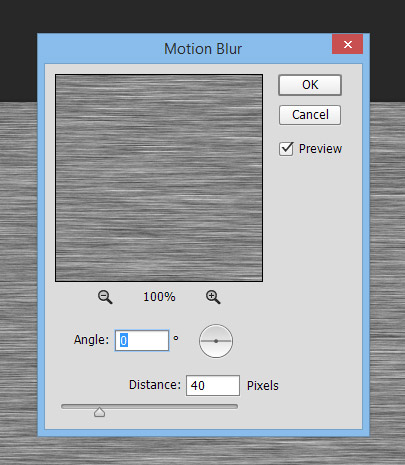
Finally, go to Filter > Blur > Motion Blur and set the Angle to 0 & Distance to 40 pixels (image 3c). Press OK to confirm the filter.
Fill the Background & Add Noise
Noise Settings
Motion Blur Settings
Step 4 > Refine the Texture
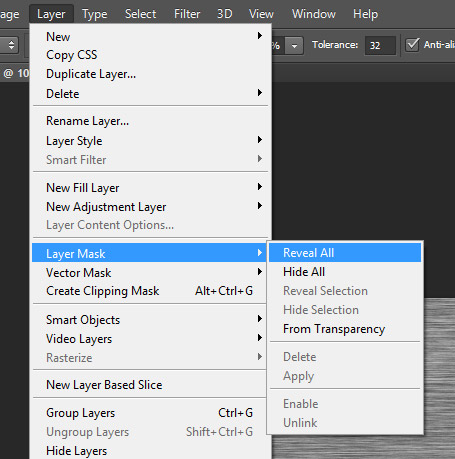
With the texture layer active go to Layer > Layer Mask > Reveal All to add a layer mask. Change the Foreground color to black (#000000) and pick a large soft brush by using the Brush Tool (B) in your toolbox. Lower the brush opacity to 65-70% and draw over the mask in left and right corners.
Next, set the Layer Blending Mode to Overlay and Opacity to 60% .
Add Layer Mask
Draw around the left & right corners with 70% visible soft brush
Result
Step 5> Add Noise
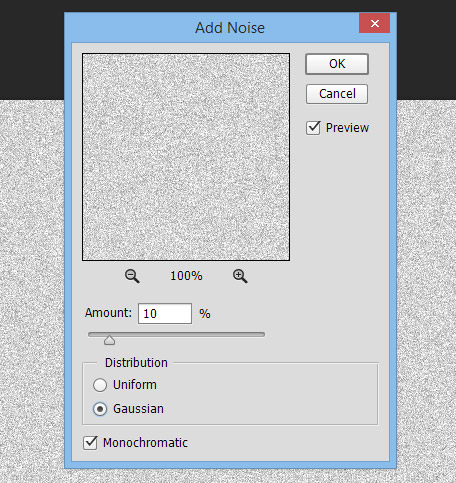
Create another layer and fill it again with #d2d2d2 color by using the Paint Bucket Tool (B). Go to Filter > Noise > Add Noise to add noise with 10% Amount, Gaussian Distribution & Monochromatic effect. Next, change the layer blending mode to Linear Burn and opacity to 10%.
Add Noise
Step 6> Curves
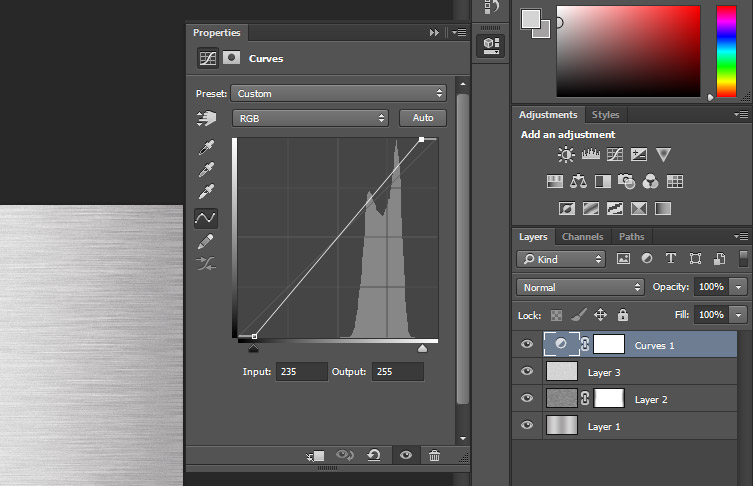
To make the image more intense and appealing go to Layer > New Adjustment Layer > Curves. Move the shadows pointer to the right side and highlights pointer to the left side.
If the Curves tab is not visible or you can find it simply by double-clicking the Curves layer icon on the Layers panel.
Curves Settings
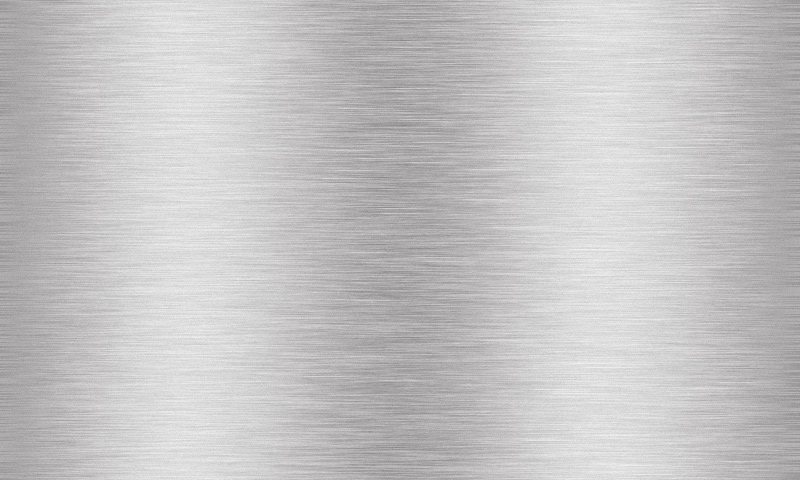
Final Work
Simple, fast and cool metallic effect. Change the background gradient direction for a different effect.
Download Free Metal Texture
Download Size: 1.1mb
Download File:Jpg
Png Res: 1920 x 1080px
Author:Dreamstale
Licensed underFreebie License
Promotion is always appreciated,
but please send people to this page.
How to Make a Logo Look Metallic in Photoshop
Source: https://www.dreamstale.com/quick-tutorial-metallic-effect-photoshop/
0 Response to "How to Make a Logo Look Metallic in Photoshop"
Post a Comment